Hop Web
Hop Web is a web-based Hop Gui version. It uses code conversion to translate the default Hop Gui desktop application to a web-based version. Even though not perfect, Hop Web provides the default Hop Gui user experience in a browser.
Getting Hop Web
Hop Web is included in the default Hop build. With each build, an update is pushed to Docker Hub.
This continously updated docker image is by far the easiest way to try out Hop Web:
Pull the latest build with: docker pull apache/hop-web.
Once the image has been pulled, start Hop Web with docker run -p 8080:8080 apache/hop-web:latest
The Hop Web container should only take a couple of seconds to start. Your container logs should output similar to the example below:
22-Apr-2021 18:13:39.786 INFO [main] org.apache.catalina.startup.HostConfig.deployDirectory Deployment of web application directory [/usr/local/tomcat/webapps/ROOT] has finished in [8,274] ms
22-Apr-2021 18:13:39.790 INFO [main] org.apache.coyote.AbstractProtocol.start Starting ProtocolHandler ["http-nio-8080"]
22-Apr-2021 18:13:39.797 INFO [main] org.apache.catalina.startup.Catalina.start Server startup in [8319] milliseconds
2021/04/22 18:14:37 - Hop - Projects enabled
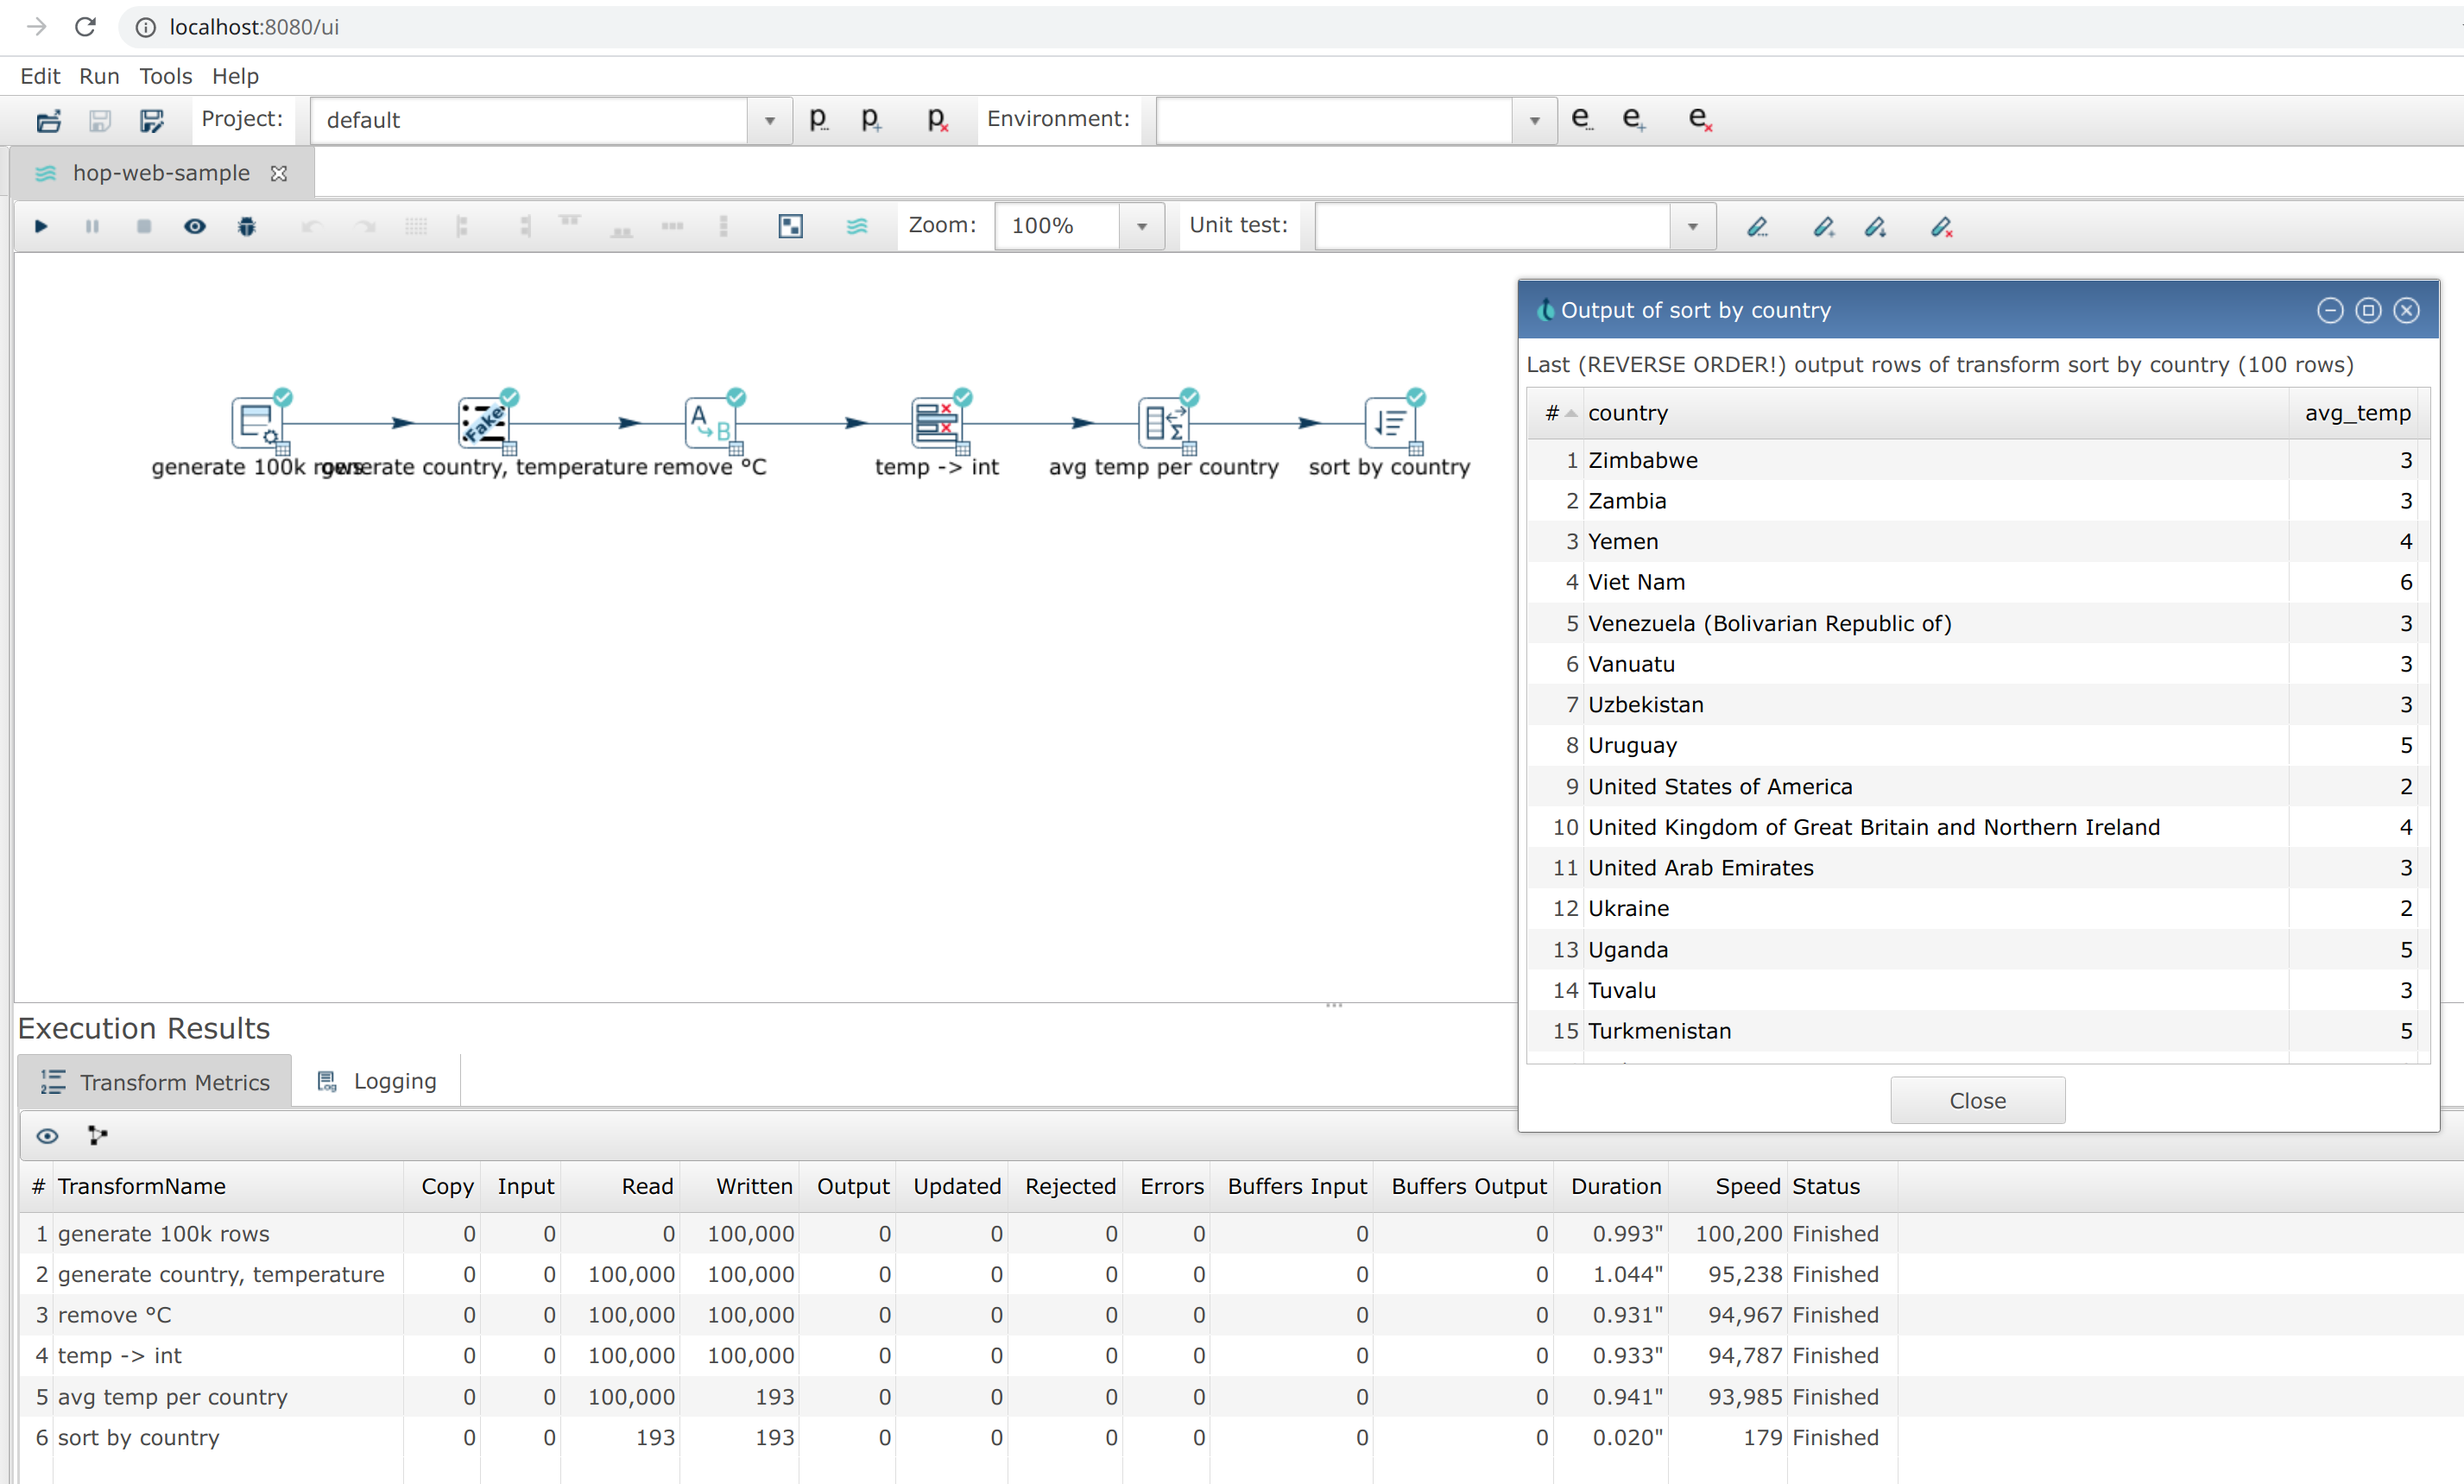
2021/04/22 18:14:37 - Hop - Enabling project : 'default'Once your container has started, Hop Web is available at http://localhost:8080/ui. You’ll feel right at home!
Starting Hop Web with a project and environment
Hop Web accepts the same variables as the default Apache Hop container image to allow Hop Web users to specify their project and environment when starting a Hop Web container:
| Environment Variable | Description |
|---|---|
| Name of the Hop project to create in the container. You also need to specify the |
| Path to the home of the Hop project. |
| The name of the Hop environment to create in the container. If you do not set this variable, no environment will be created. When using an environment a project has to be created too |
| This is a comma separated list of paths to environment config files (including filename and file extension). |
Example docker run command to start Hop Web with a project and environment:
docker run -it --rm \
  --env HOP_PROJECT_FOLDER=/project \
  --env HOP_PROJECT_NAME=web-samples \
  --env HOP_ENVIRONMENT_NAME=web-samples-test \
  --env HOP_ENVIRONMENT_CONFIG_FILE_NAME_PATHS=/config/web-samples-test.json \
  --name hop-web-test-container \
  -p 8080:8080 \
  -v <PATH_TO_YOUR_PROJECT>:/project \
  -v <PATH_TO_YOUR_ENVIRONMENT>:/config \
hop-webAuthentication
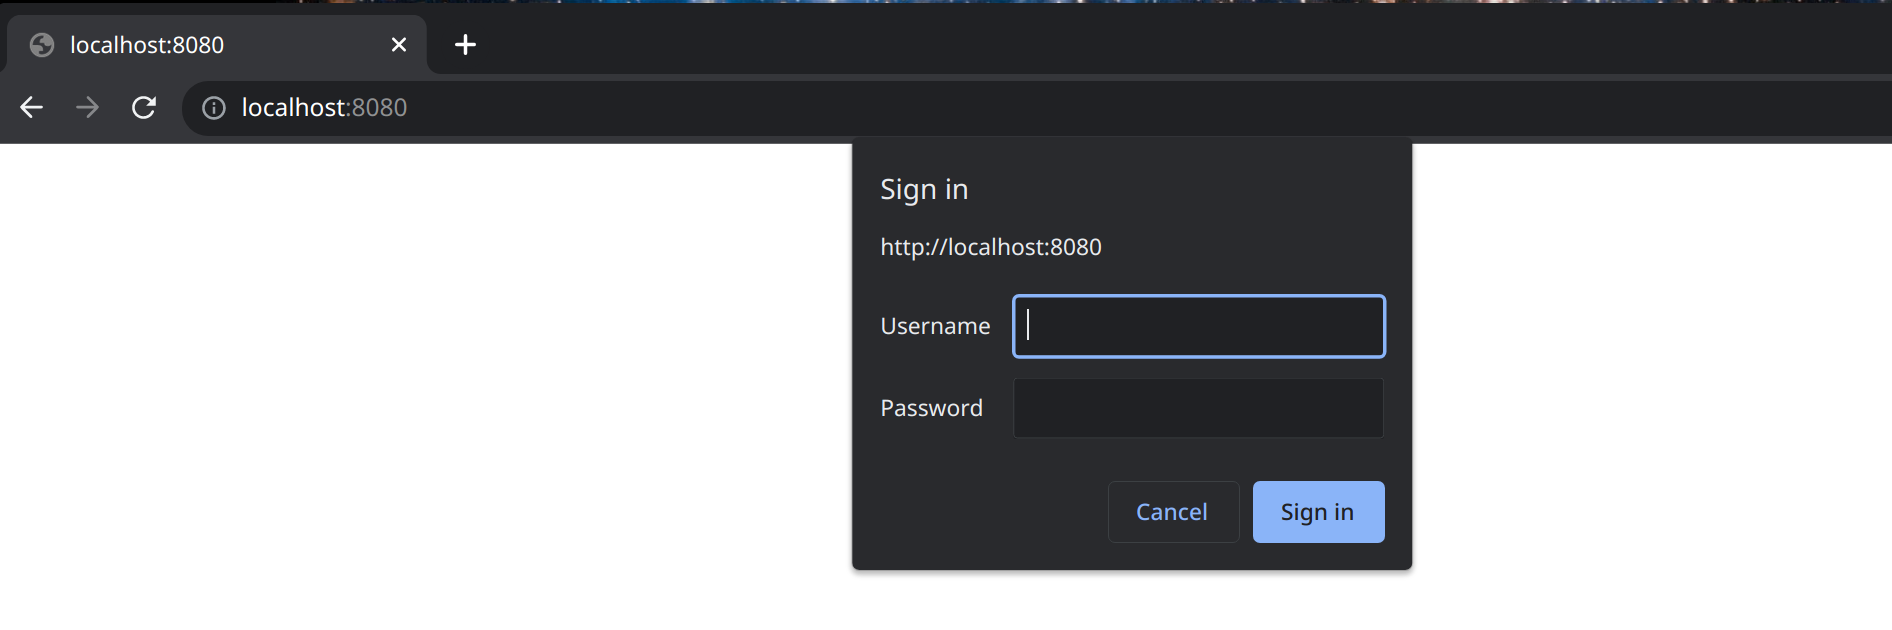
Hop Web runs on a Tomcat server by default. You can extend Hop Web’s tomcat configuration to add authentication.
The default Hop Web docker image picks up tomcat-users.xml and web.xml files and moves them to the correct location before Hop Web starts.
A minimal sample tomcat-users.xml file:
<?xml version='1.0' encoding='utf-8'?>
<!--
  ~ Licensed to the Apache Software Foundation (ASF) under one or more
  ~ contributor license agreements.  See the NOTICE file distributed with
  ~ this work for additional information regarding copyright ownership.
  ~ The ASF licenses this file to You under the Apache License, Version 2.0
  ~ (the "License"); you may not use this file except in compliance with
  ~ the License.  You may obtain a copy of the License at
  ~
  ~       http://www.apache.org/licenses/LICENSE-2.0
  ~
  ~ Unless required by applicable law or agreed to in writing, software
  ~ distributed under the License is distributed on an "AS IS" BASIS,
  ~ WITHOUT WARRANTIES OR CONDITIONS OF ANY KIND, either express or implied.
  ~ See the License for the specific language governing permissions and
  ~ limitations under the License.
  ~
  -->
<tomcat-users>
  <role rolename="apachehop"/>
  <user username="apachehop" password="password" roles="apachehop" />
</tomcat-users>
The following sample web.xml extends Hop Web’s default web.xml with the <security-constraint /> and <login-config /> elements required for basic authentication.
<?xml version="1.0" encoding="UTF-8"?>
<!--
  ~ Licensed to the Apache Software Foundation (ASF) under one or more
  ~ contributor license agreements.  See the NOTICE file distributed with
  ~ this work for additional information regarding copyright ownership.
  ~ The ASF licenses this file to You under the Apache License, Version 2.0
  ~ (the "License"); you may not use this file except in compliance with
  ~ the License.  You may obtain a copy of the License at
  ~
  ~       http://www.apache.org/licenses/LICENSE-2.0
  ~
  ~ Unless required by applicable law or agreed to in writing, software
  ~ distributed under the License is distributed on an "AS IS" BASIS,
  ~ WITHOUT WARRANTIES OR CONDITIONS OF ANY KIND, either express or implied.
  ~ See the License for the specific language governing permissions and
  ~ limitations under the License.
  ~
  -->

<web-app xmlns="http://java.sun.com/xml/ns/j2ee"
         xmlns:xsi="http://www.w3.org/2001/XMLSchema-instance"
         xsi:schemaLocation="http://java.sun.com/xml/ns/j2ee http://java.sun.com/xml/ns/j2ee/web-app_2_4.xsd"
         version="2.4">

    <context-param>
        <param-name>org.eclipse.rap.applicationConfiguration</param-name>
        <param-value>org.apache.hop.ui.hopgui.HopWeb</param-value>
    </context-param>

    <listener>
        <listener-class>org.apache.hop.ui.hopgui.HopWebServletContextListener</listener-class>
    </listener>

    <servlet>
        <servlet-name>HopGui</servlet-name>
        <servlet-class>org.eclipse.rap.rwt.engine.RWTServlet</servlet-class>
    </servlet>

    <servlet-mapping>
        <servlet-name>HopGui</servlet-name>
        <url-pattern>/ui</url-pattern>
    </servlet-mapping>

    <servlet>
        <servlet-name>welcome</servlet-name>
        <jsp-file>/docs/English/welcome/index.html</jsp-file>
    </servlet>
    <servlet-mapping>
        <servlet-name>welcome</servlet-name>
        <url-pattern>/docs/English/welcome/index.html</url-pattern>
    </servlet-mapping>

    <servlet>
        <servlet-name>Server</servlet-name>
        <servlet-class>org.apache.hop.www.HopServerServlet</servlet-class>
    </servlet>
    <servlet-mapping>
        <servlet-name>Server</servlet-name>
        <url-pattern>/hop/*</url-pattern>
    </servlet-mapping>

    <security-constraint>
      <web-resource-collection>
        <web-resource-name>Wildcard means whole app requires authentication</web-resource-name>
          <url-pattern>/*</url-pattern>
          <http-method>GET</http-method>
          <http-method>POST</http-method>
        </web-resource-collection>
      <auth-constraint>
        <role-name>apachehop</role-name>
      </auth-constraint>

      <user-data-constraint>
        <!-- transport-guarantee can be CONFIDENTIAL, INTEGRAL, or NONE -->
        <transport-guarantee>NONE</transport-guarantee>
      </user-data-constraint>
    </security-constraint>

    <login-config>
      <auth-method>BASIC</auth-method>
    </login-config>

</web-app>
Check the Apache Tomcat documentation on REALM configuration for more advanced configurations.
Mount your local configuration folder with these two files to a /config folder in the Apache Hop Web container to do so:
docker run -it --rm \
    -p 8080:8080 \
    -v <PATH_TO_YOUR_LOCAL_CONFIG_DIRECTORY>:/config/ \
    apache/hop-web`
Hop Web will now ask for your username and password: