Pipelines
In Concepts, we walked through pipelines, transforms and hops. Let’s remember:
-
A pipeline consists of a chain of transforms that read, process or write data. Transforms are connected by hops. Hops have a direction but can’t create loops, which effectively makes Pipelines DAGs (Directed Acyclic Graphs).
-
A transform is each basic operation in your pipeline. Each transform performs an operation on the data: reads from a source, operates on data in the pipeline or writes to to a target.
-
A hop in a pipeline passes data between transforms.
Create a Pipeline
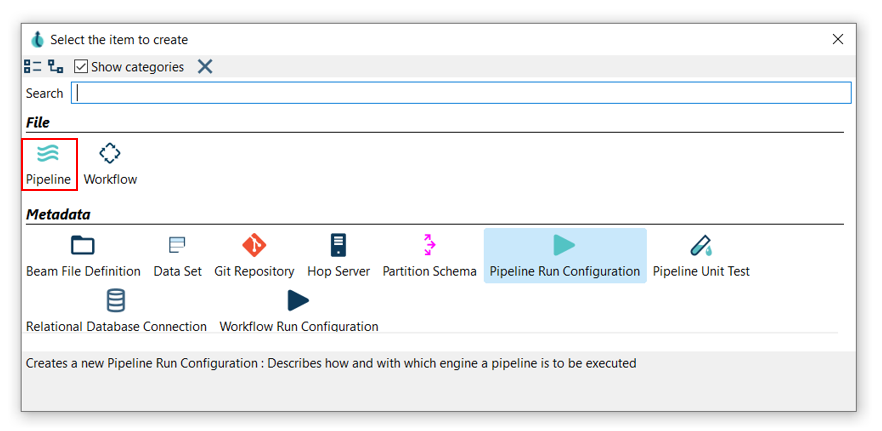
There are two ways to create a pipeline.
-
click on the New option on the Horizontal toolbar and select the Pipeline option.
-
File → New → Pipeline 


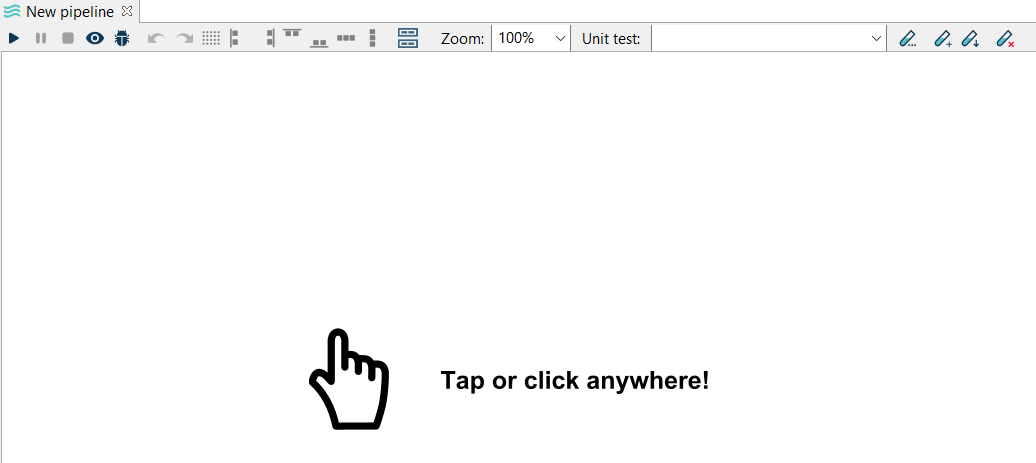
Your new pipeline is created. You’ll see the dialog below.
Add and connect Transforms
Add Transforms
Now you are ready to add the first transform. Click anywhere in the pipeline canvas, the area where you’ll see the image below.

After clicking you will see the context dialog. This is the dialog you’ll use every time you need to select transforms to add to your pipeline.
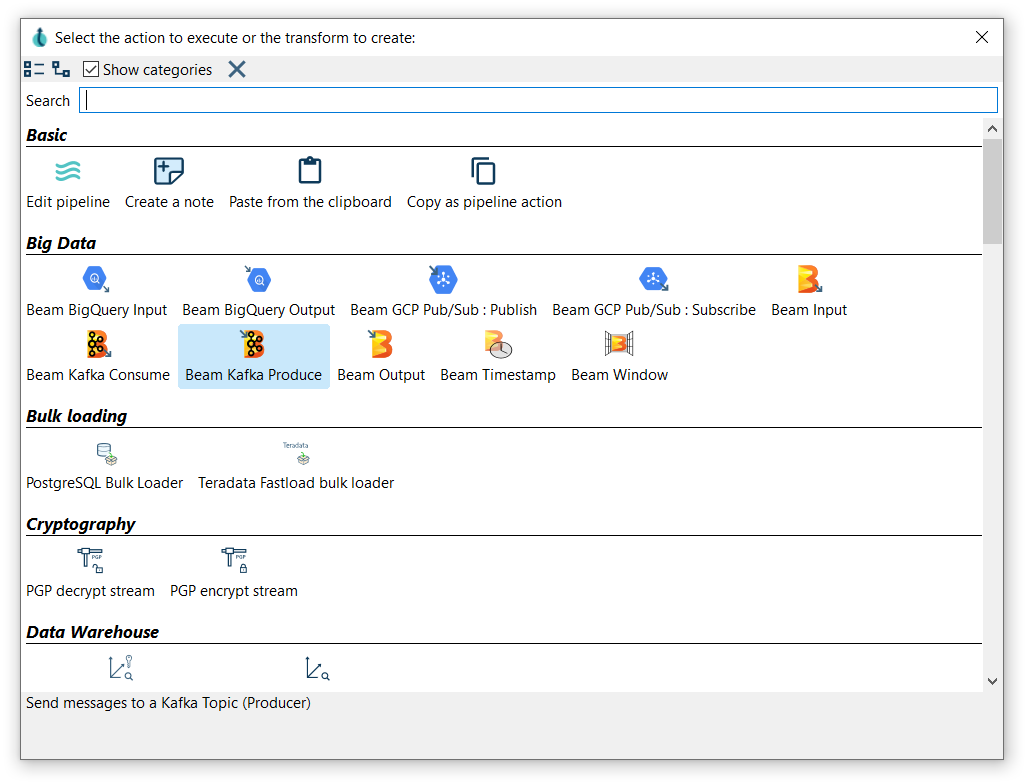
Use the search box in this dialog to find the transforms you need. Click or use the arrow keys and hit enter to add a transform to your pipeline.
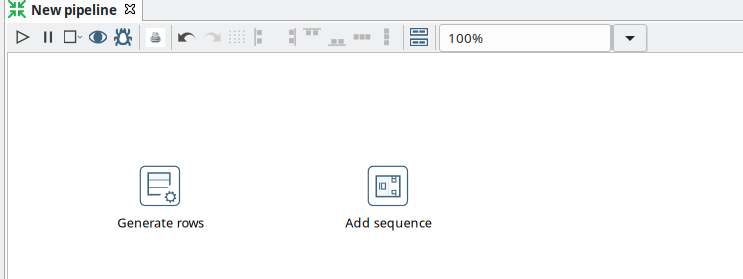
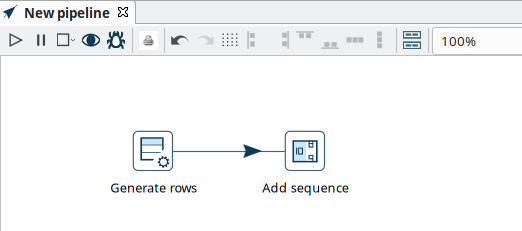
For now, add a Generate Rows and a Add Sequence transform to your pipeline.
| check the full list of transforms. There are 186 transforms available in Hop 0.99, but you’ll soon get to know the most commonly used ones. |
Create a Hop
There are a number of ways to create a hop:
-
shift-drag: while holding down the shift key on your keyboard. Click on a transform, while holding down your primary mouse button, drag to the second transform. Release the primary mouse button and the shift key.
-
scroll-drag: scroll-click on a transform , while holding down your mouse’s scroll button, drag to the second transform. Release the scroll button.
-
click on a transform in your pipeline to open the context dialog (the dialog you opened in the 'click anywhere' step). Click the 'Create hop'
 button and select the transform you want to create the hop to.
Run your pipeline
Running a pipeline to see how it performs can be done in one of the following tasks:
-
Using the Run icon.

-
Select Run and click on Start Execution from the toolbar.

-
Press F8
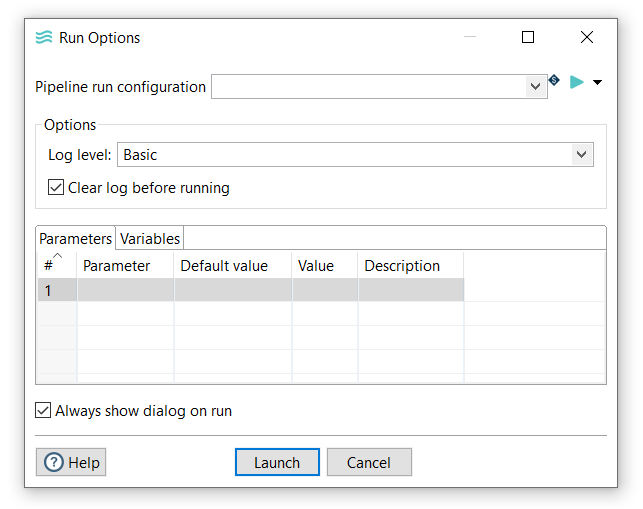
You will see the Run Options dialog.
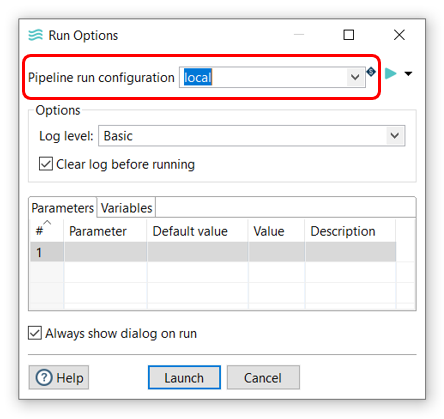
| a 'local' runtime configuration is created when you first start Hop Gui. Check the available runtime configurations for other engines to run your pipelines on. |
Make sure your configuration is selected and hit Launch.
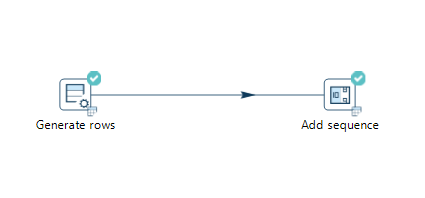
You’ll see green check marks in the upper right corner of the transforms when a pipeline ran successfully.
After each run, the execution results are displayed in the panel on the bottom of your window. The Execution Results contains two tabs:
-
transform metrics
-
logging
The Transform Metrics tab displays metrics per transform.

The logging tab displays the log of the pipeline according to the log level chosen on execution.

| for more detailed information, check out the Run, Preview and Debug a Pipeline page. |