
Your first pipeline
In Concepts we said a pipeline is a set of transforms connected by hops, and that all transforms run in parallel.
This page turns that into a working pipeline. It is deliberately small, but it is a complete one: it creates data, changes it, lets you look at it, and writes it out. That read - change - write shape is what almost every pipeline you build later will look like.
You will need nothing but a Hop installation. No database, no sample files, no network.
Create a pipeline
Click New in the main toolbar and pick Pipeline, or use File → New → Pipeline.
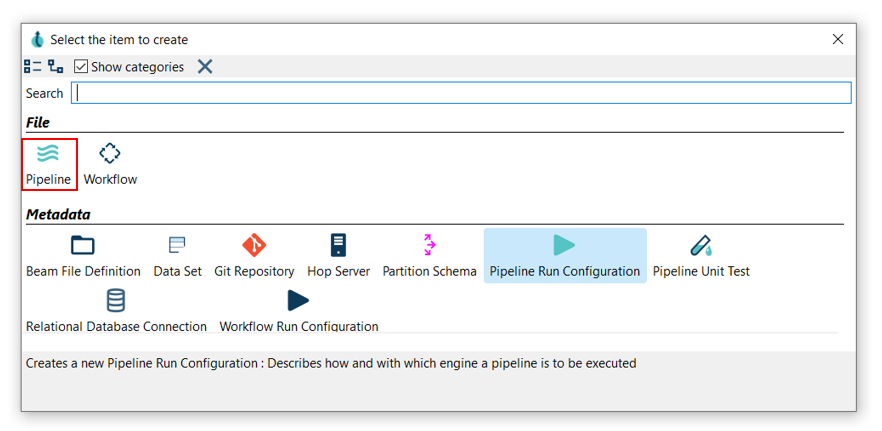
You now have an empty pipeline canvas, with the pipeline toolbar above it.
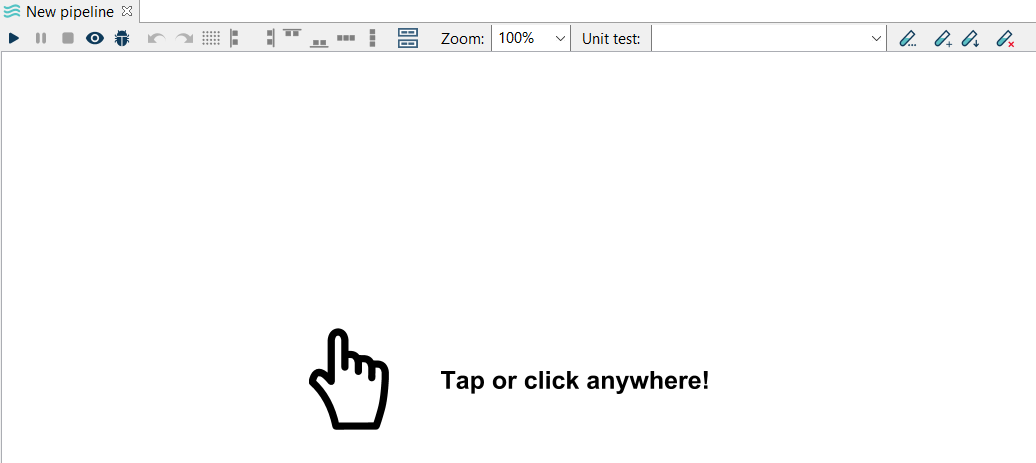
Save it right away with CTRL-S and call it first-pipeline.hpl.
Hop can run a pipeline straight from the editor, but you will need the file on disk in the next chapter.
Add the first transform
Click anywhere on the empty canvas. The context dialog opens: this is how you add transforms.
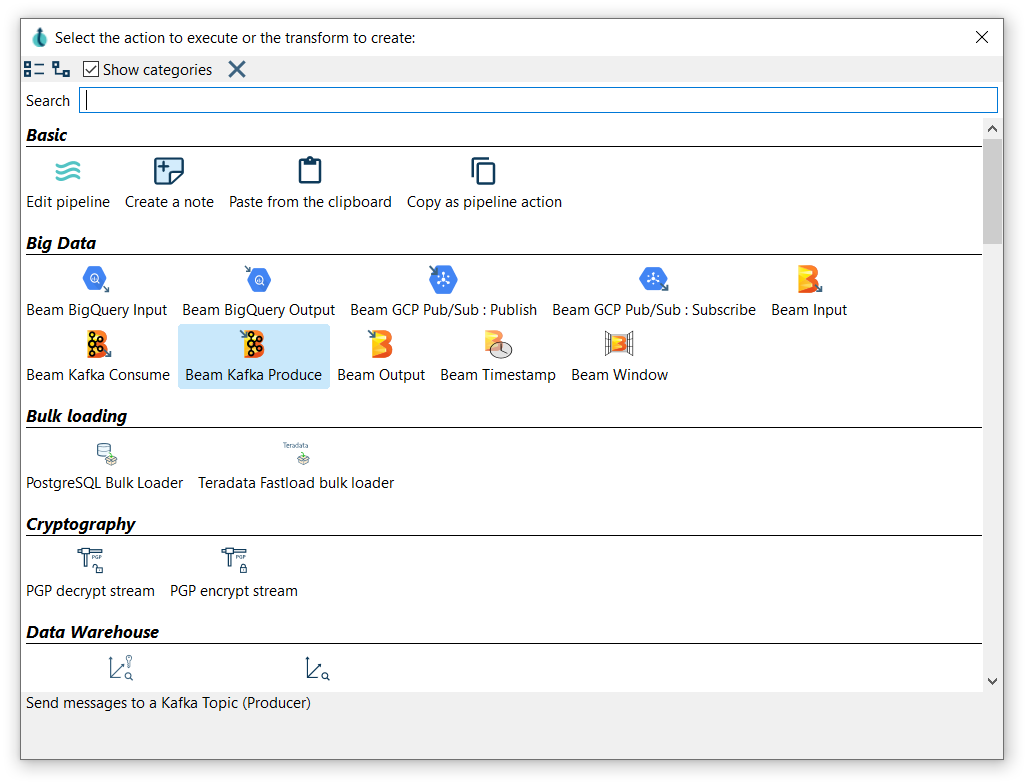
Type in the search box to filter, then click or use the arrow keys and Enter to add.
Every pipeline has to start with a pipeline source: a transform that produces rows instead of reading them from an incoming hop.
Search for Generate rows and add it.
search for pipeline source in the context dialog to see all transforms that can start a pipeline.
|
Configure Generate rows
Double-click the new transform to open its dialog, and set:
| Field | Value |
|---|---|
Transform name |
|
Limit |
|
In the Fields table at the bottom, add one row:
| Name | Type | Value |
|---|---|---|
|
String |
|
Click OK.
This transform now produces 100 identical rows, each with a single product field.
Identical rows are not very interesting, so let’s make them distinct.
Add a second transform and connect it
Click the canvas again, search for Add sequence and add it.
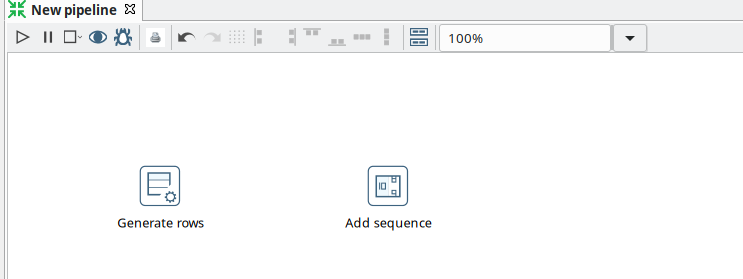
Open it and set:
| Field | Value |
|---|---|
Transform name |
|
Name of value |
|
Start at value |
|
Increment by |
|
Leave Use counter to calculate sequence checked. That is the default, and it means Hop counts internally instead of asking a database for the next value, so this works without a database connection.
Now connect the two transforms. There are three ways to create a hop:
-
shift-drag: hold Shift, press your primary mouse button on
generate orders, drag tonumber the ordersand release. -
scroll-drag: press the scroll button on
generate orders, drag tonumber the ordersand release. -
click
generate ordersto open its context dialog and use the Create hop button.
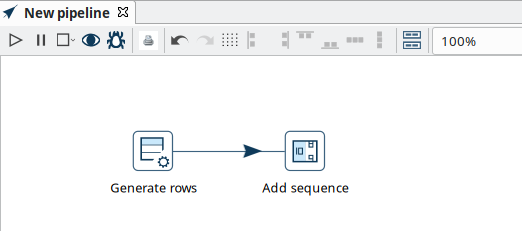
The arrow on the hop shows which way the rows travel. Hops in a pipeline cannot form a loop.
Look at the data before you run anything
This is the step that makes Hop quick to work with, and it is worth learning before anything else.
Right-click number the orders and choose Preview & debug output, then click Quick Launch.
Hop runs just enough of the pipeline to fill a preview window, and shows you the actual rows:
| product | order_id |
|---|---|
Widget |
1000 |
Widget |
1001 |
Widget |
1002 |
Two things are worth noticing.
order_id exists even though no transform "wrote" it to disk: fields are created as rows travel down the pipeline.
And you got this without configuring an output, a connection or a run configuration.
Preview early and often - it is much faster than running a whole pipeline to find out that a field is wrong.
| Run, Preview and Debug a Pipeline covers previewing a subset of rows, pausing on a condition, and debugging. |
Write the result out
A preview is not a result. Let’s write the rows to a file.
Click the canvas, search for Text file output and add it.
Create a hop from number the orders to the new transform.
Open it and, on the File tab, set:
| Field | Value |
|---|---|
Transform name |
|
Filename |
|
Extension |
|
${java.io.tmpdir} is a variable.
Hop exposes every Java system property as one, so this resolves to your system’s temporary folder on any operating system.
Anywhere Hop accepts a path, it accepts a variable.
Go to the Fields tab and click Get Fields.
Hop reads the fields coming in over the hop and fills the table with product and order_id.
Click OK.
| Get Fields only works when the incoming hop exists and the transforms before it are configured, because Hop asks them what they produce. If the table stays empty, check the hop. |
Run the pipeline
Press F8, or click Run in the pipeline toolbar.

The run options dialog opens.
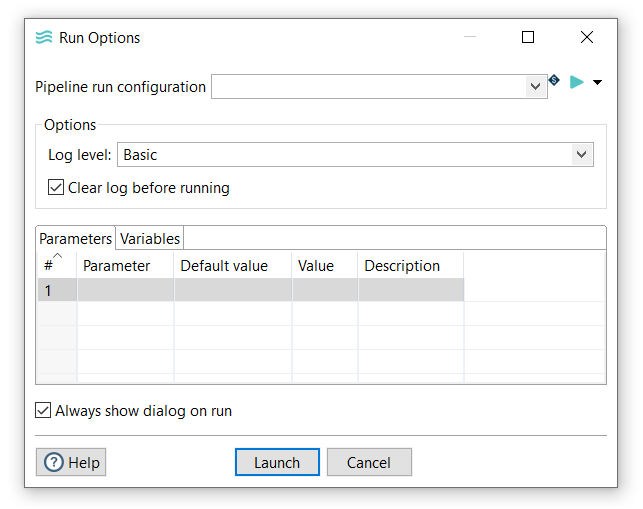
A local pipeline run configuration is created the first time you start Hop Gui.
Select it and click Launch.
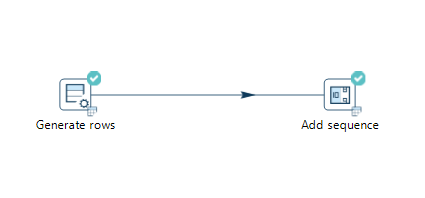
Green check marks in the corner of each transform mean the pipeline finished without errors.
Read the results
The Execution Results panel at the bottom of the window is where you find out what happened.
The Metrics tab shows one line per transform, with rows read, written and rejected, and the time each one took.
write orders should show 100 rows written.

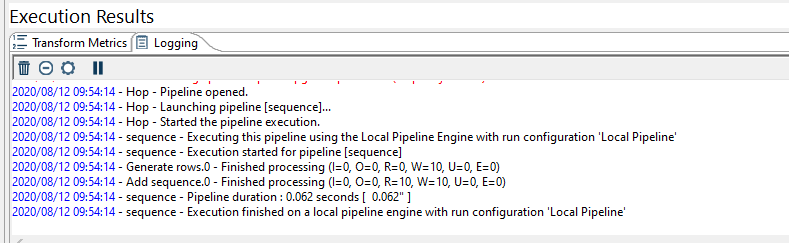
The Logging tab shows the log for the run, at the log level you picked in the run options dialog. When something goes wrong, this is where the reason is.
Now open hop-orders.csv in your temporary folder.
The log line for write orders tells you the full path if you are not sure where that is.
product;order_id
Widget;1000
Widget;1001
Widget;1002
That is a complete pipeline: it created data, changed it, and wrote it somewhere you can use it.
What you learned
-
A pipeline starts with a source transform and moves rows along hops.
-
Fields are created and changed as rows travel; you don’t declare them up front.
-
Preview shows you real rows without running or configuring the whole pipeline.
-
Variables work anywhere Hop accepts a path.
-
Execution Results tells you how many rows moved and what went wrong.
Next, we’ll build a workflow that runs this pipeline and reacts to whether it worked.